
A professional email account is an email that shows your domain name. Many small and upcoming businesses find themselves using Gmail more often than not. Although this is not entirely wrong, using your own domain as part of your email address is more formal and acceptable. In this article, I will show you how to use Zoho mail to create a free professional email account. We will also go through how to get a domain account from Namecheap. Later we will discuss the features of Zoho mail and it can be a crucial part of your email marketing strategy. Firstly, let us look at what is Zoho mail free forever.
Zoho mail free is a cost-effective solution for small businesses. It offers 5GB/user storage taking up to five users. Each mail has an attachment limit of 25MB. Access to the mail service is through the web and mobile applications and it is restricted to a single domain.
Prerequisites
To follow along in the next section you need a domain. We recommend that you get a domain from Namecheap. You might need the following extras if you want to start an online business. But just a domain will be fine.
- Get Namecheap Domain here
- Learn 3 Key Actions To Start An Online Business
Steps To Setup Zoho Mail Free
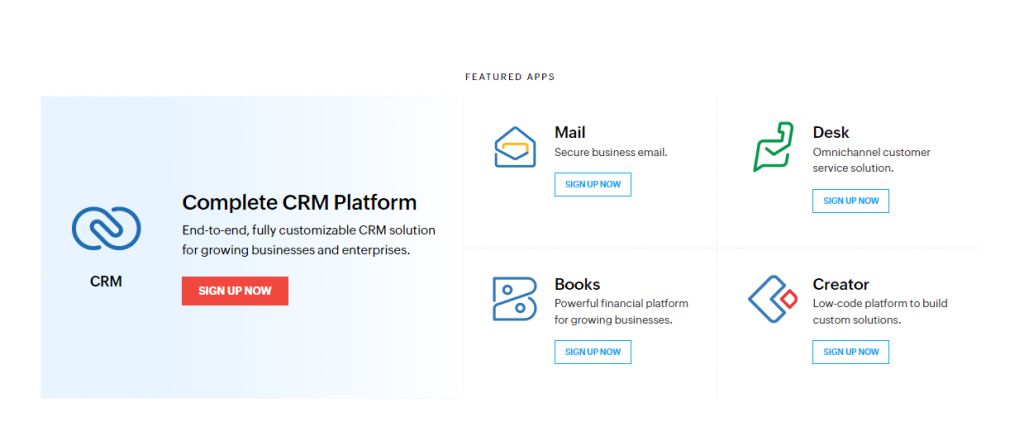
Step 1: Go To the Zoho Mail Website
The first step seems simple enough right. Just visit the Zoho mail website and once you get there click on sign up no under mail as the service that you are going after. It will immediately ask you for login details.
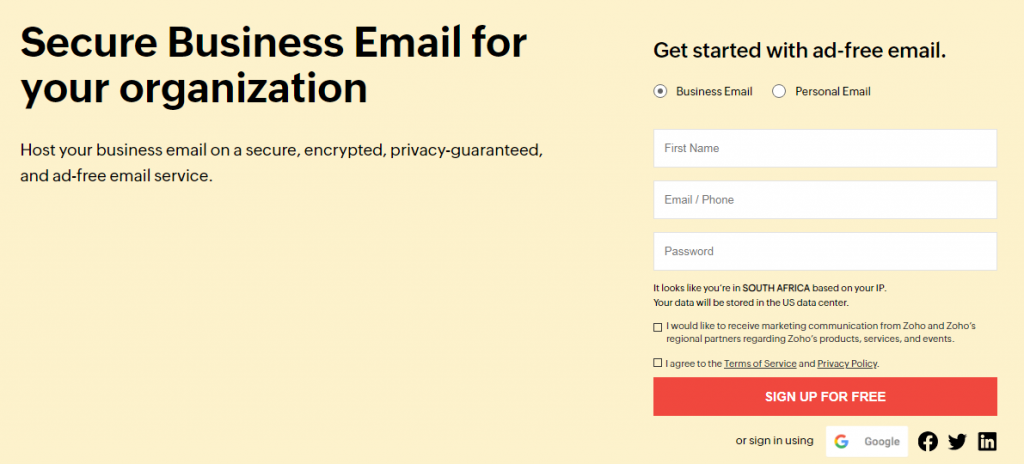
Step 2: Fill In Your Details
Fill in your details in the form that appears in the image below to set up an account. The form simply asks that you enter your First Name, Email/Phone, and set Password. Once you are done and you go through the terms of service and privacy policy select the checkboxes and sign up.
Once you click on SignUp Now On the Image Above It will Take you To This Page
Step 3: Enter the OTP
After you enter your details in the setup above. You will be asked for an OPT to verify your account or phone number. Simply go to your email and get the verification OPT and submit it in the form as shown in this image.
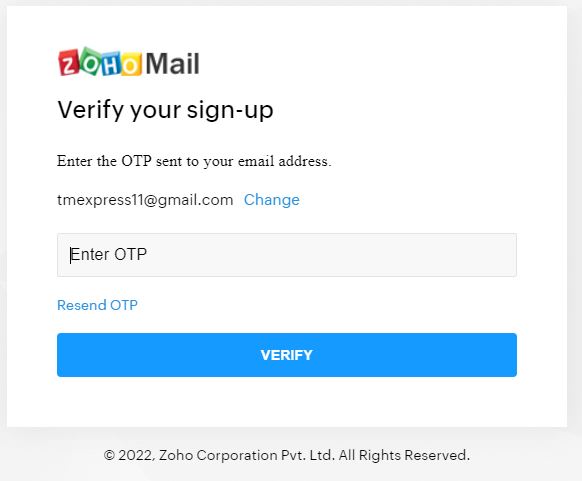
If you didn’t get the OTP just click on Resend OTP in blue.
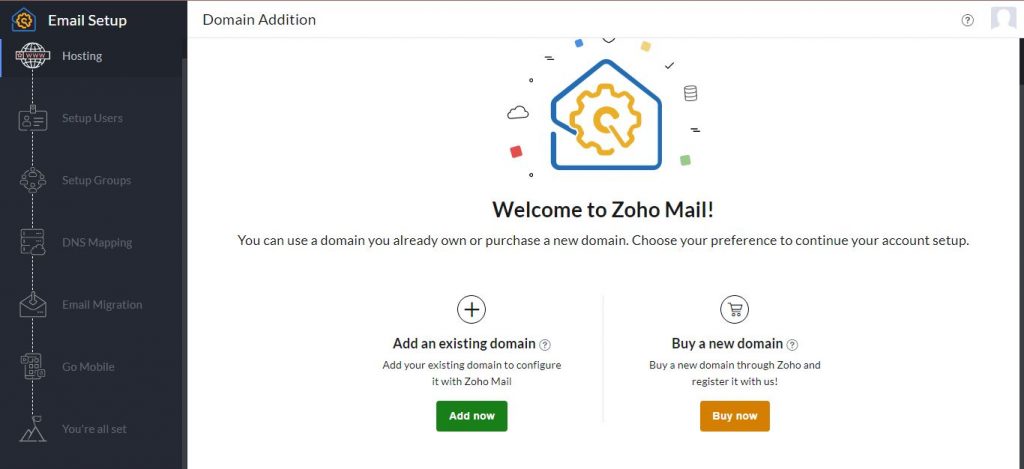
Step 4:Selct Domain Option
As mentioned earlier in the prerequisites to follow along in this article you need to first a Domain from Namecheap if you don’t have a domain already. Maybe you have a domain but with a different company like GoDaddy that is also fine. If you prefer to get a domain through Zoho then click on buy domain. Since I’m going to use a domain that I bought from Namecheap I will click on add now.
Step 5: Enter Your Domain From Namecheap
The moment you click on Add now in the image above, a form will pop up requesting the domain name, organization name, and the industry. After you fill in the information correctly you will see an image below, which confirms the success of adding your domain. Now we move on to the next phase which is the verification.
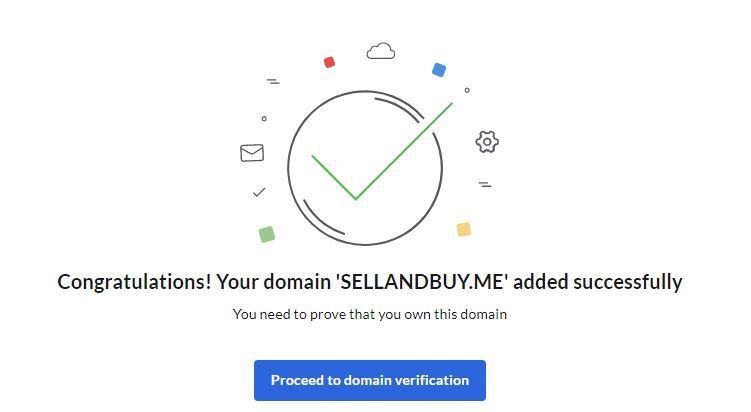
Step 6: Verify Domain In Zoho Mail
After clicking Proceed to domain verification. You will get detailed instructions on what to do in order to verify your domain. If you are following along with a Namecheap domain, you will notice Zoho has already picked that your domain is from Namecheap. Login in to your Namecheap account and add the txt records that are required to perform the verification. I recommend setting the TTL value to 1min, that way you don’t have to wait for the DNS records to update.
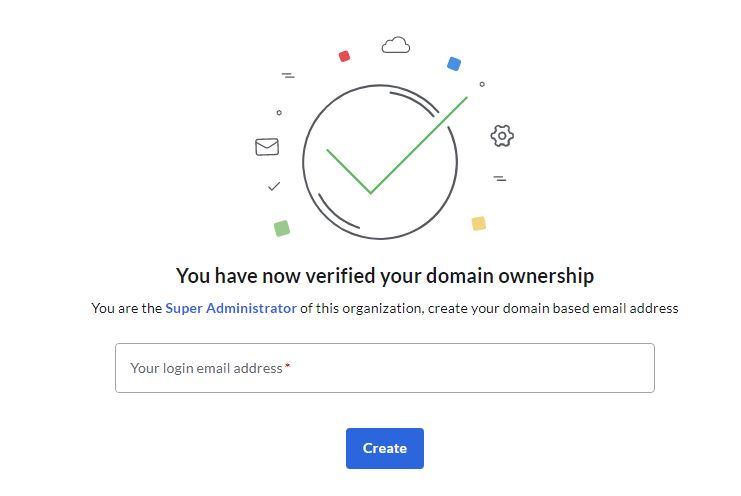
Finally, once you have entered the TxT records in Namecheap click Verify TxT Record. If you manage to Successfully verify the domain then it will show a message as below. Next, proceed to create an email account that you will use. In my case, I will use admin@sellandbuy.me and then click on Create.
Step 7: Setting Up Users
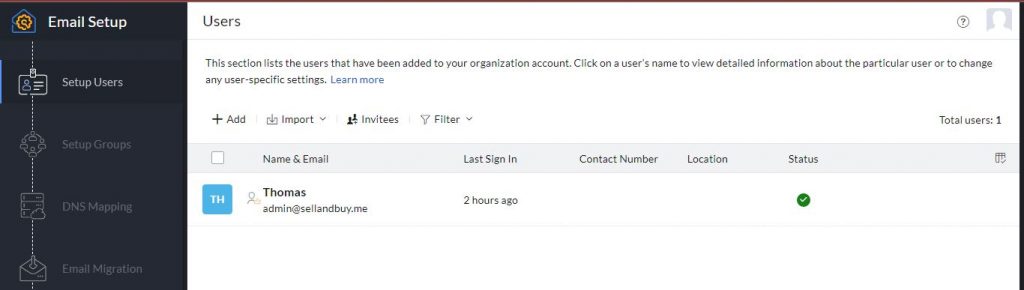
As you can see from above, an email account has been created, However, the next step is not part of this scope and is optional. If you want to create more users for this account, just click add. In y case, I will click on Proceed to Setup Groups and will most likely skip that step, as well as the main focus, which is to create a free business email account.
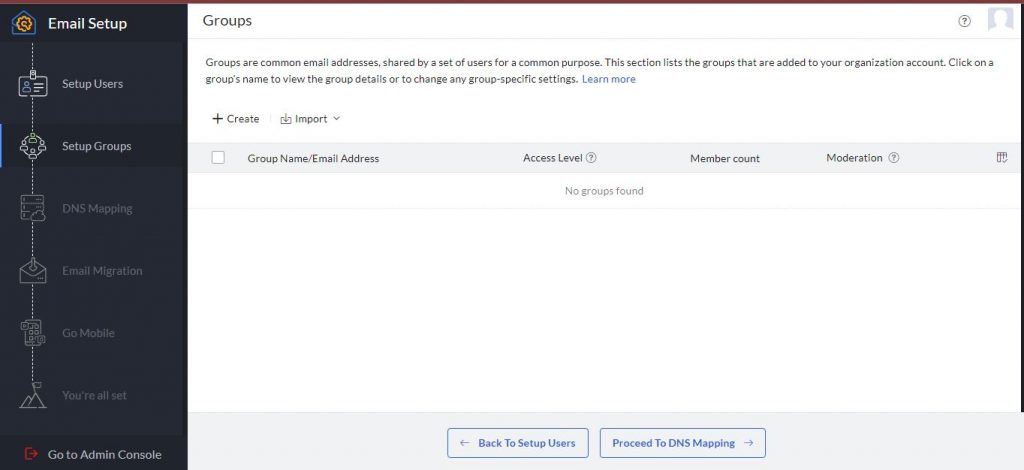
Groups in this case are common email addresses that are used by a set of users. for example, you can create marketing that would be used by your marketing department. You could also create support and accounts email groups. Remember the Zoho Mail Free account only takes up to 5 users. We are not going to create any groups in this article so I will click on Proceed to DNS Mapping. This takes us to the next step DNS Mapping.
Step 8: DNS Mapping
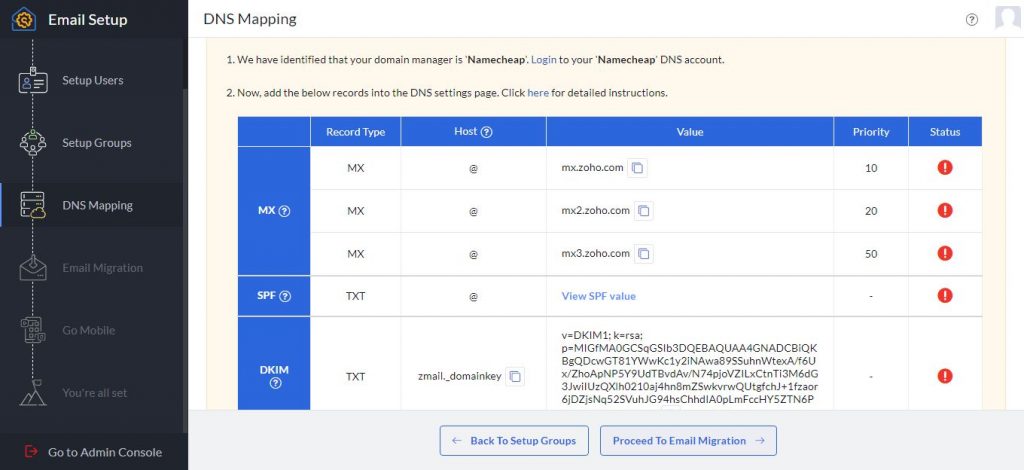
MX records are important for us to be able to receive emails from the admin email account I have just created. As it stands without configuring MX records we are only able to send out emails. Zoho also further shows you are settings that you must configure in your domain registration which is SPF and DKIM. SPF and DKIM are required for security reasons and will not affect your ability to send and receive emails.
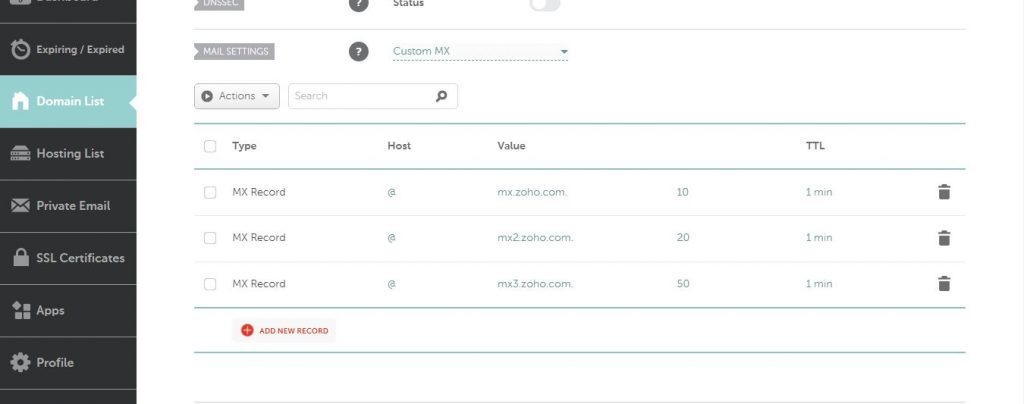
In this article, we will not configure SPF and DKIM but we will focus on MX records. In your Namecheap DNS records add MX records under the Mail Setting and change it from Email forwarding to Custom MX. After that click on Add New Record. Copy and paste the details from Zoho into your Namecheap settings the same way I have done it below. Please remember to set the TTL to 1min. Setting the TTL to 1min means your DNS is updated after 60seconds and you are good to go to the next step.
Final Steps: Zoho Mail Free Account
Once you are done with DNS records, click verify all. A popup will be displayed letting you know that DNS takes time to propagate. Just click ok and then Proceed to the next section. The next step is data Migration. In our case, this is a brand new email account so there is no data to migrate from anywhere. If you were moving this account from another email hosting service provider then you can click on migrate.
Click on Proceed To Go Mobile since there is no migration for a new account.
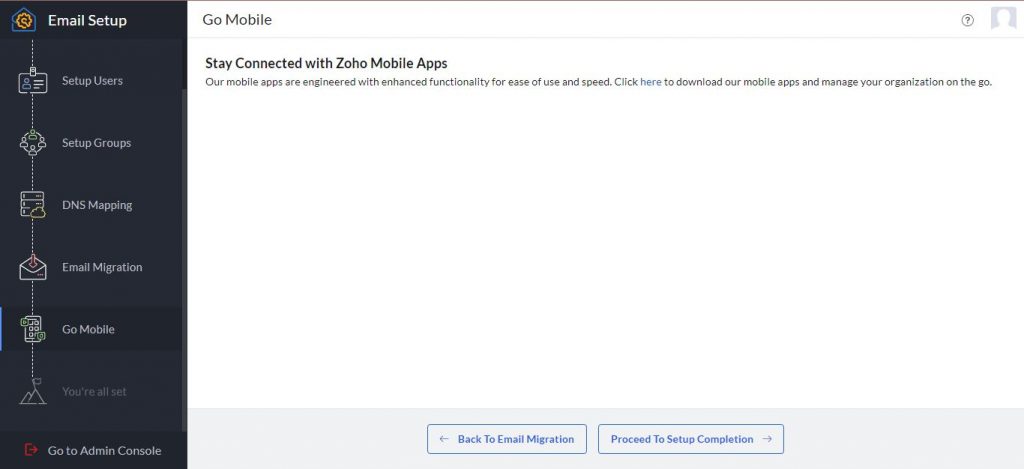
On the Mobile apps page, it will show you a link to download your apps. This is optional and not necessary for us. Click on Proceed To Setup Completion.
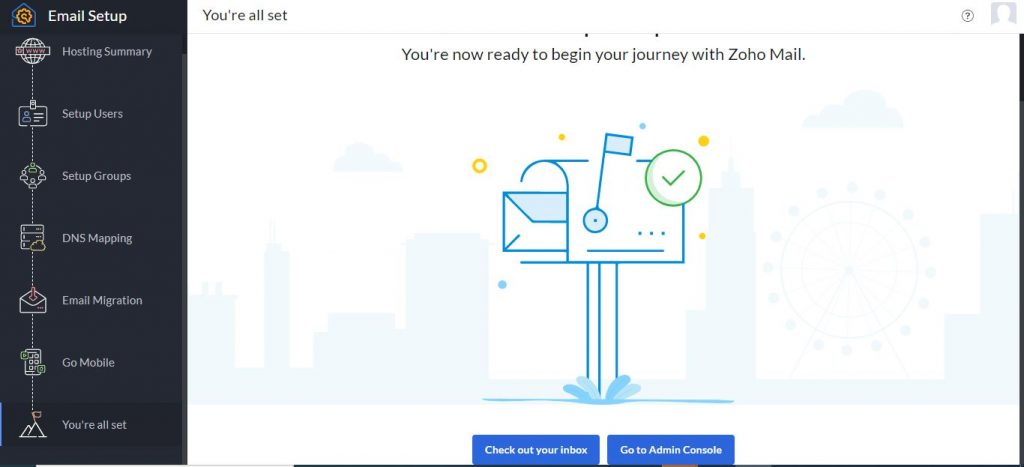
Click on Check out your inbox. Once you are in your inbox you will be able to set up your time timezone and signature, After that, you are done setting up a free business email in Zoho Mail. Is Zoho mail the only free custom email hosting service on the market? No, there are serval other alternatives to Zoho mail.
Zoho mail Free Alternatives
The following is a list of Zoho Mail alternatives. It includes household and not-so-popular tech companies.
- Microsoft Outlook
- Spike
- Bluehost
- Hostwinds
- Microsoft Exchange Online
- GoDaddy.
Conclusion
In this article, we covered briefly what is Zoho Mail Free. We then, covered in detail how to create a free professional business email account. The only prerequisite in this guide was to have a domain from Namecheap or to buy one before following along. During the process, we covered how to configure MX records in the Namecheap account so that we can receive emails in Zoho Mail. In the end, we were able to successfully create a business account for free that can use up to 5 users with 5Gb/user. The email created has an attachment limit of 25MB.
Thank you for reading until the end. We hope you were also able to create an account while following along. If you had any challenges, please leave a comment or use our forum to get assistance.
You may also like our article on Email Marketing 101:Beginners Guide.
